
How to Build a Living Wall
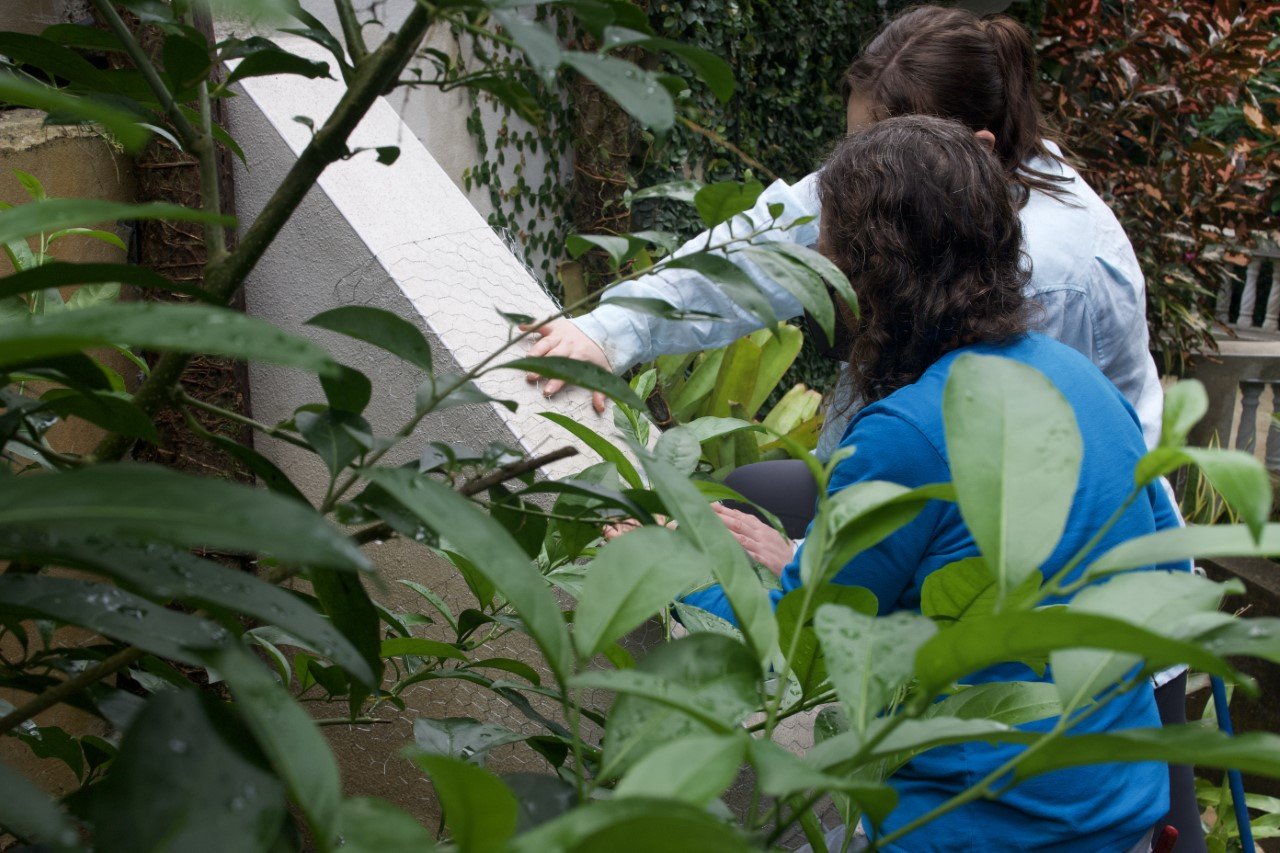
There is always work to be done and plenty of projects to be completed at our small boutique bed and breakfast. Luckily, many of these jobs end up being a lot of fun! Today we’re going to be talking about how a group of volunteers and interns at the Rainforest Inn created a living wall of plants to cover up a plain, cement wall abutment along the walkway which leads to our private Lost Machete Hike.

Living in the rainforest and on an island can make completing projects more of a challenge. This is due to the intense climate (it’s always raining here in the rainforest) and fluctuating availability of supplies. We also try to be as sustainable as possible, and design our projects so that they work with the environment and look like they belong. We do this by using local and natural materials, and reusing supplies from past projects when possible.
We were inspired to create this living wall because our guests enjoy exploring our property, so we wanted every inch to be blooming with life and for them to feel like they are in their own tropical paradise from every angle and walkway. Ralph Waldo Emerson said “every wall is a door,” so we decided to make that door open up to a beautiful garden.
The first step of creating a living wall is to decide on placement. Ideally, it should be a wall that gets enough sun exposure to fit your plants’ needs, which brings us to the second step of choosing the right plants. You should choose plants that fit the aesthetic you are going for, and most importantly, ones that will do well in your climate so that your living wall won’t turn into a dead wall or require more care than you have time for.
Since we are in the rainforest, we decided to use plants that do well with high humidity, partial shade, and lots of rain. You will also need to decide if you will be adding soil to your wall, or using plants that can survive outside of the soil.
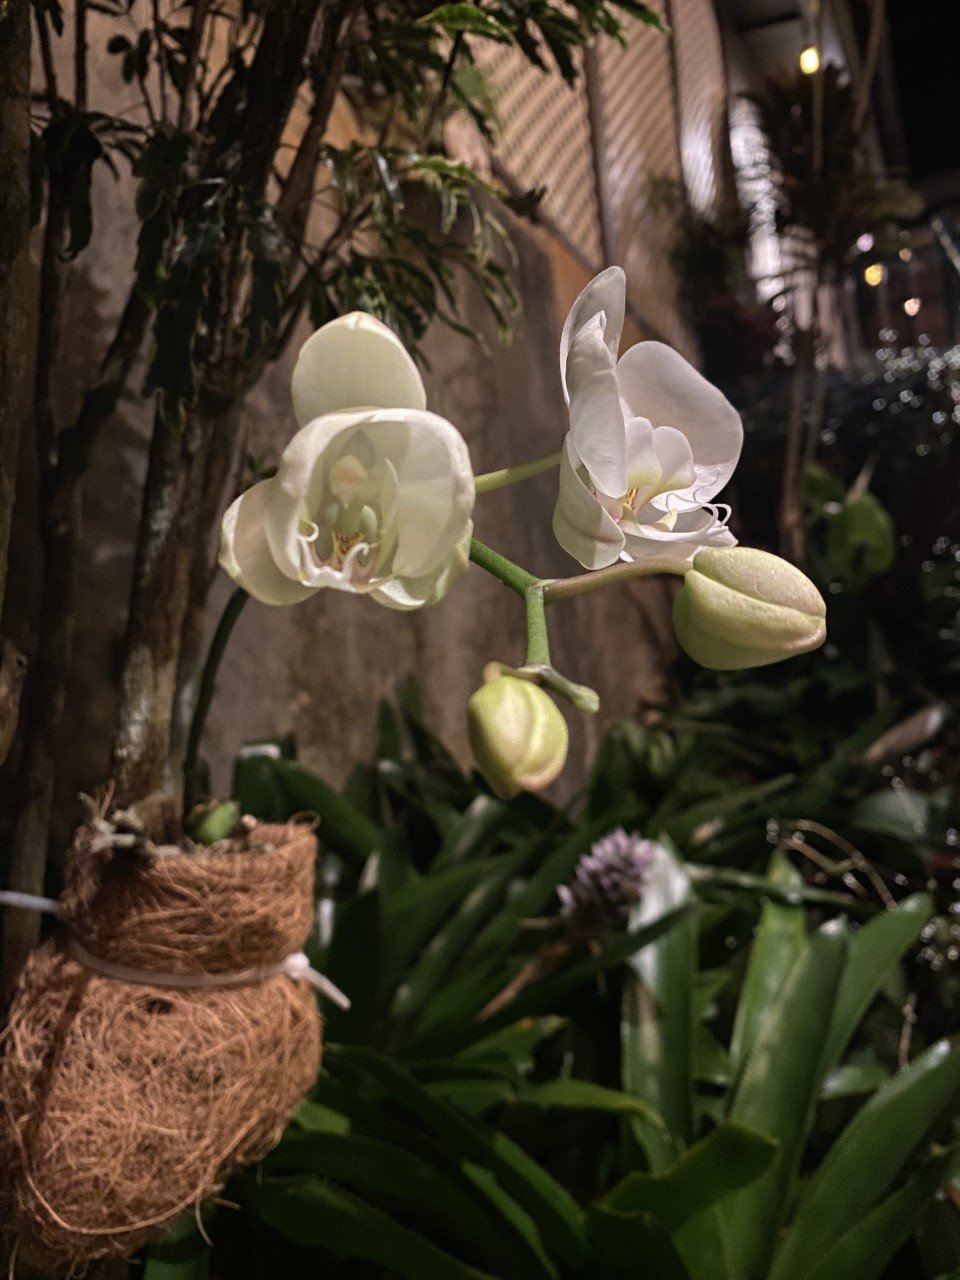
We decided to go with the soil-less route and chose bromeliads and orchids. Since most varieties of bromeliads and orchids are epiphytes (air plants), they can grow without soil. This made our living wall project much easier, and a little less messy!
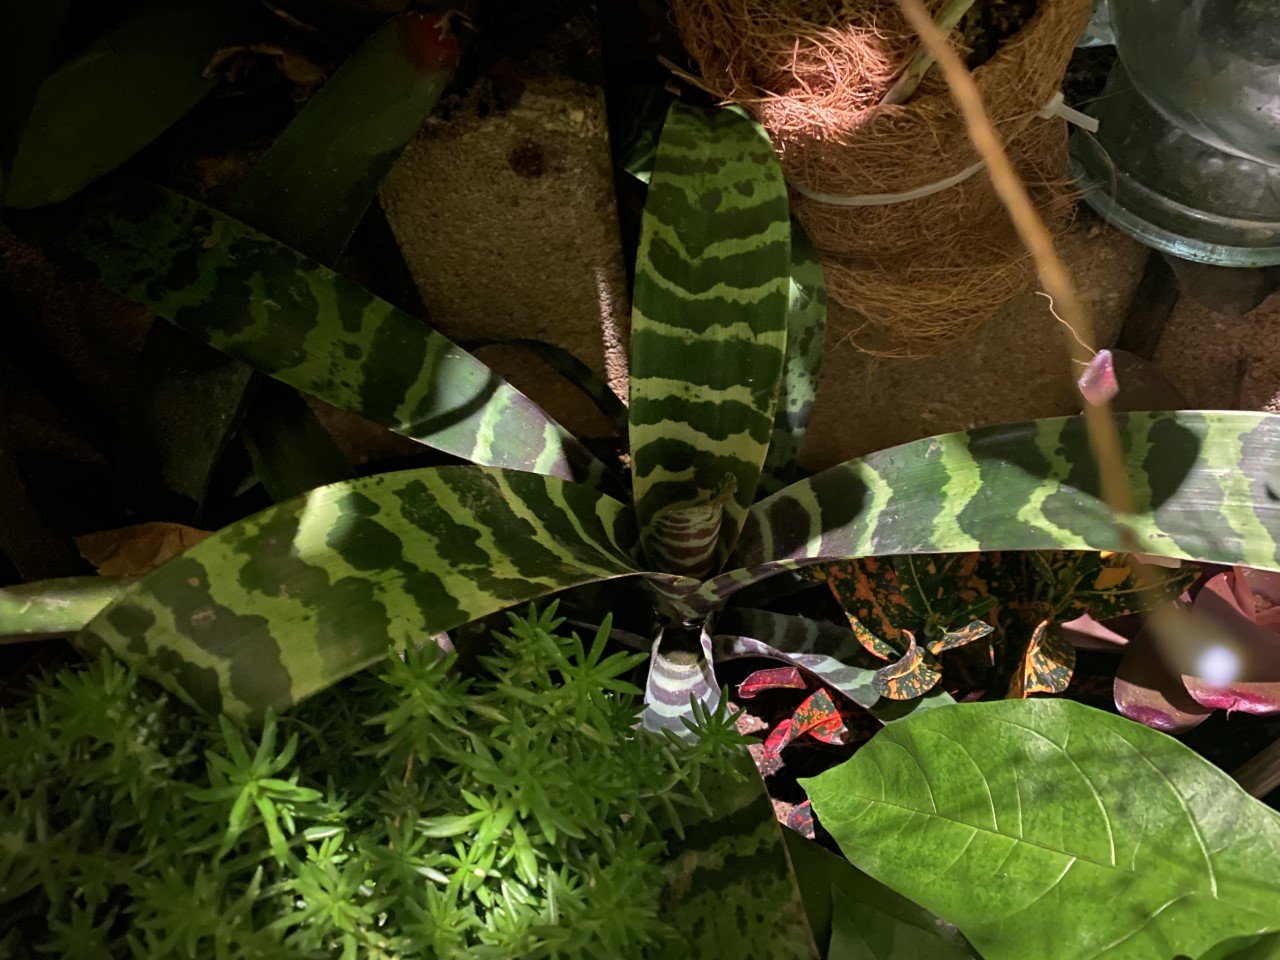

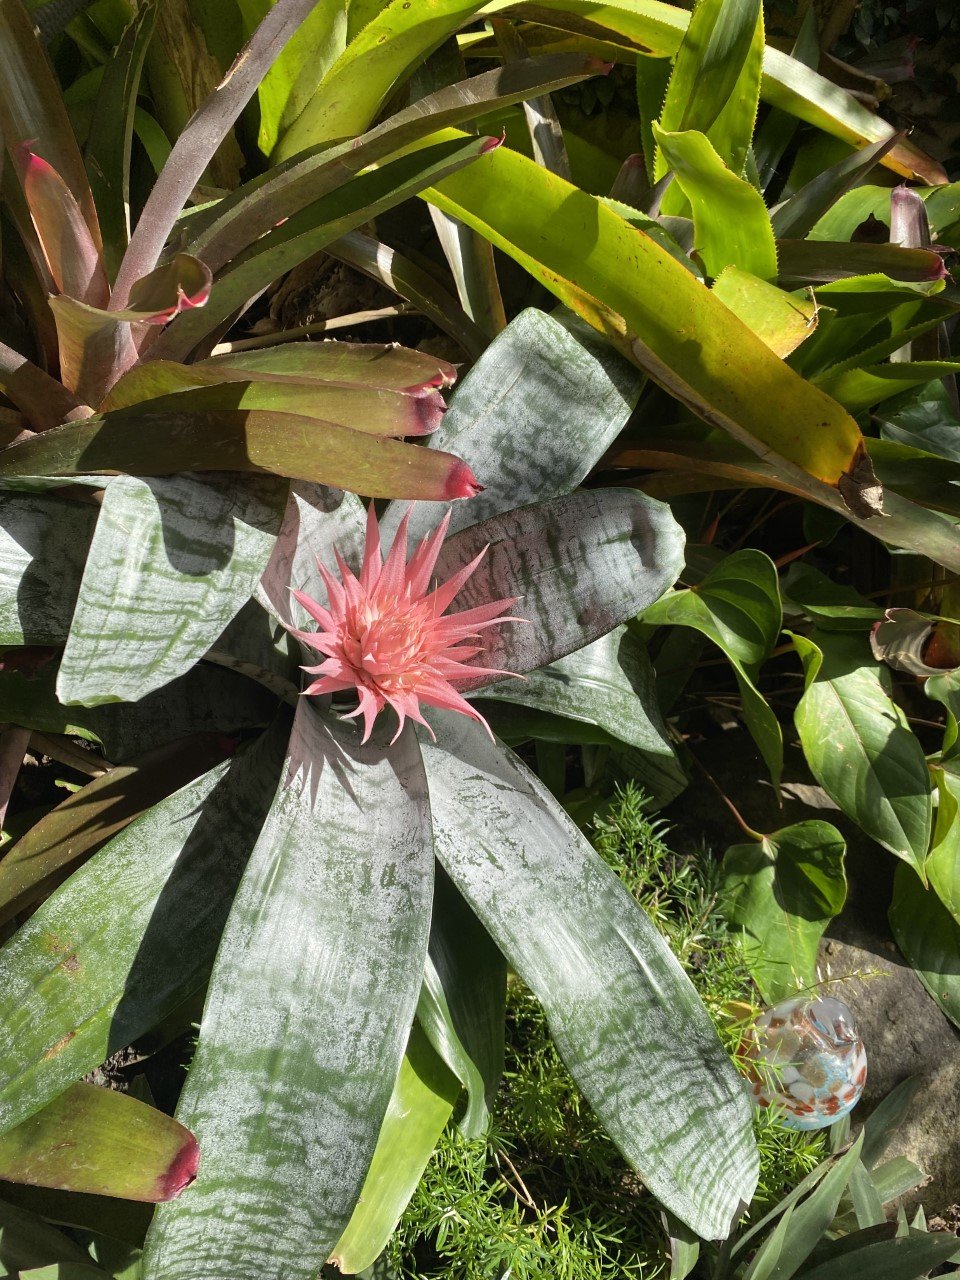
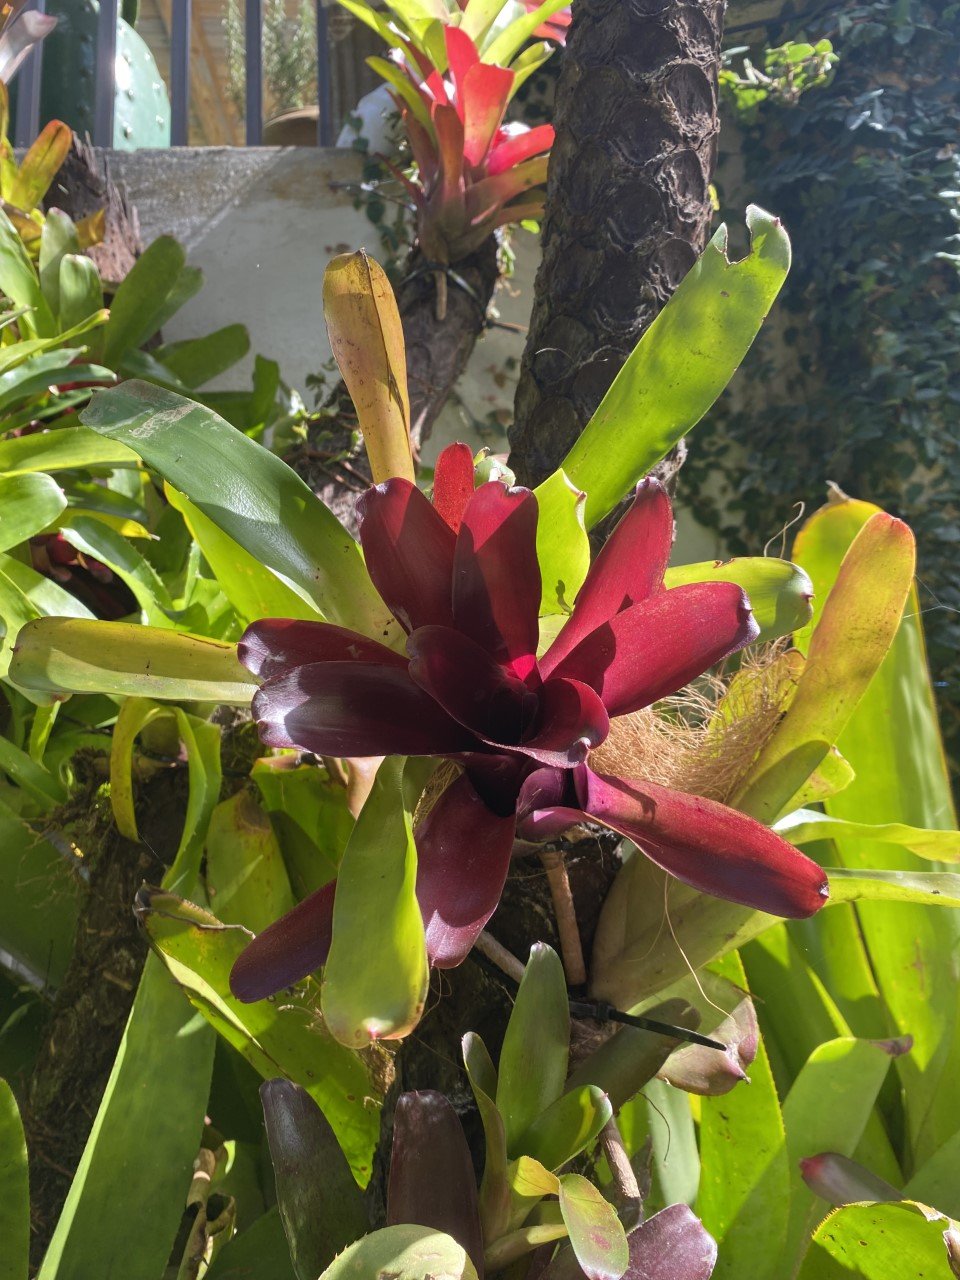
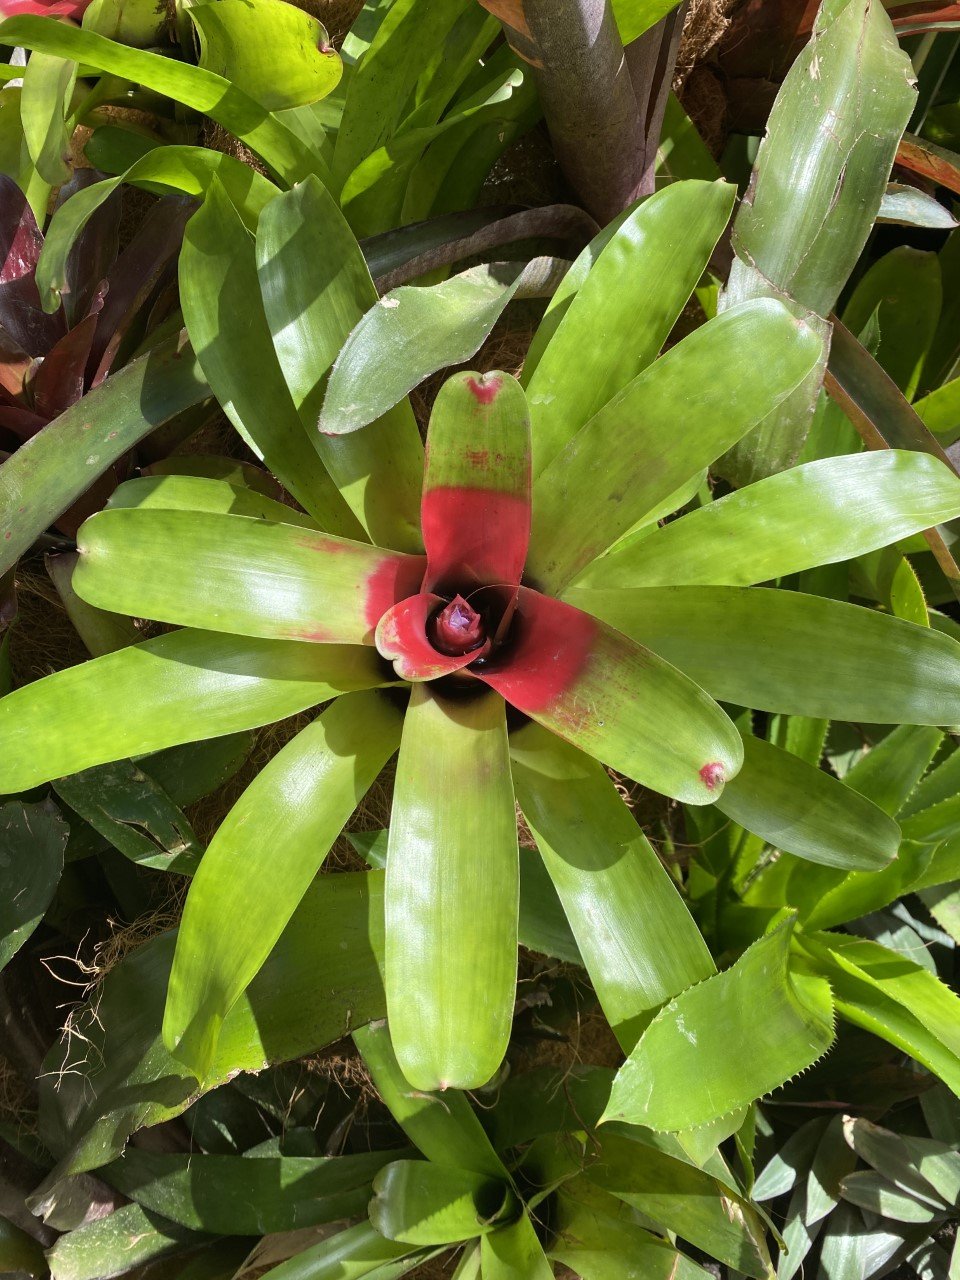
(Bromeliads have serrated leaves and their flowers are spikey, so be sure to wear gloves, a long-sleeve shirt, and long pants.)
After you decide on the location of your living wall, and the species of plants you will be using, you will then need to gather your materials. We decided to use chicken wire to give the plants something to attach to, a drill (with screws and washers) to attach the chicken wire to the wall, wire cutters, and coconut fiber to wrap the roots and hide any empty spaces between the plants. This project did not need a lot of materials, and we happened to have a lot of them already on hand!
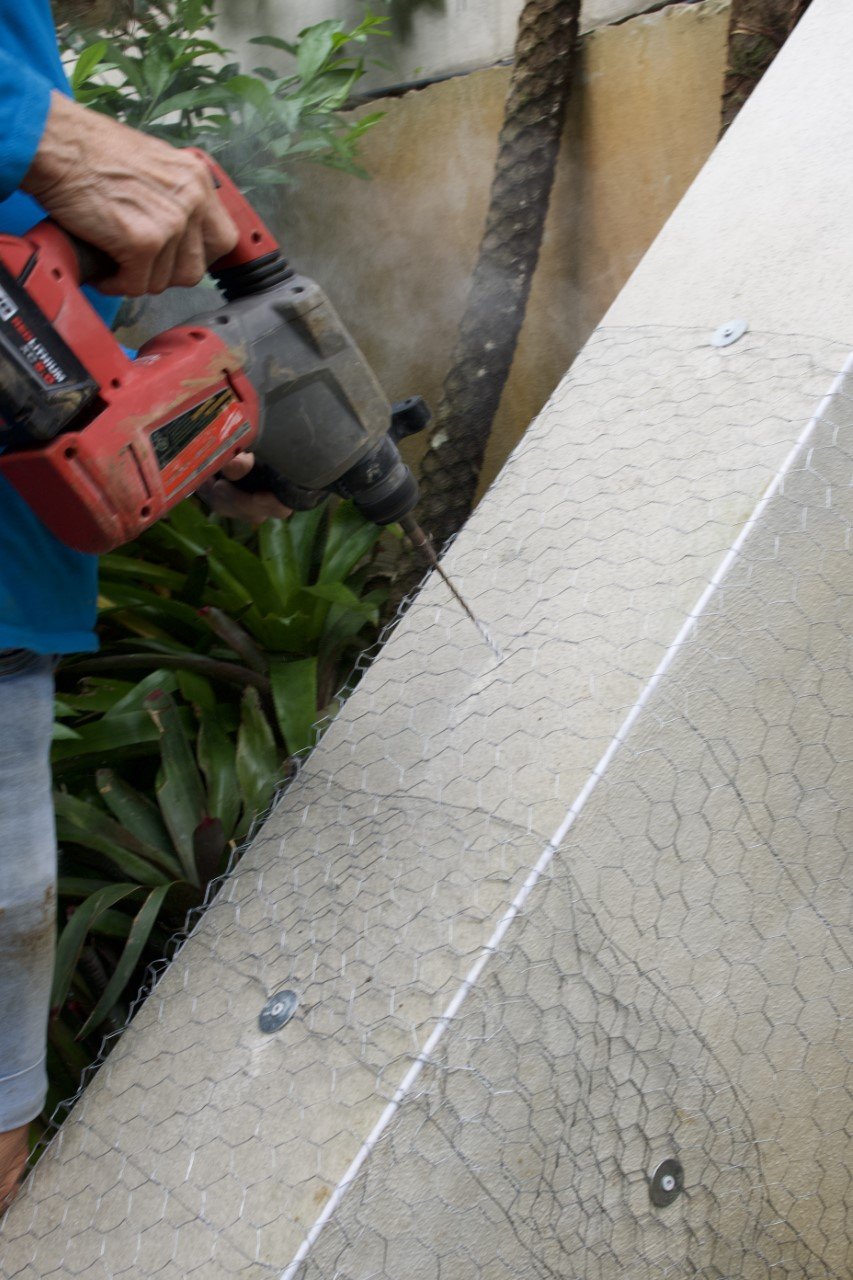
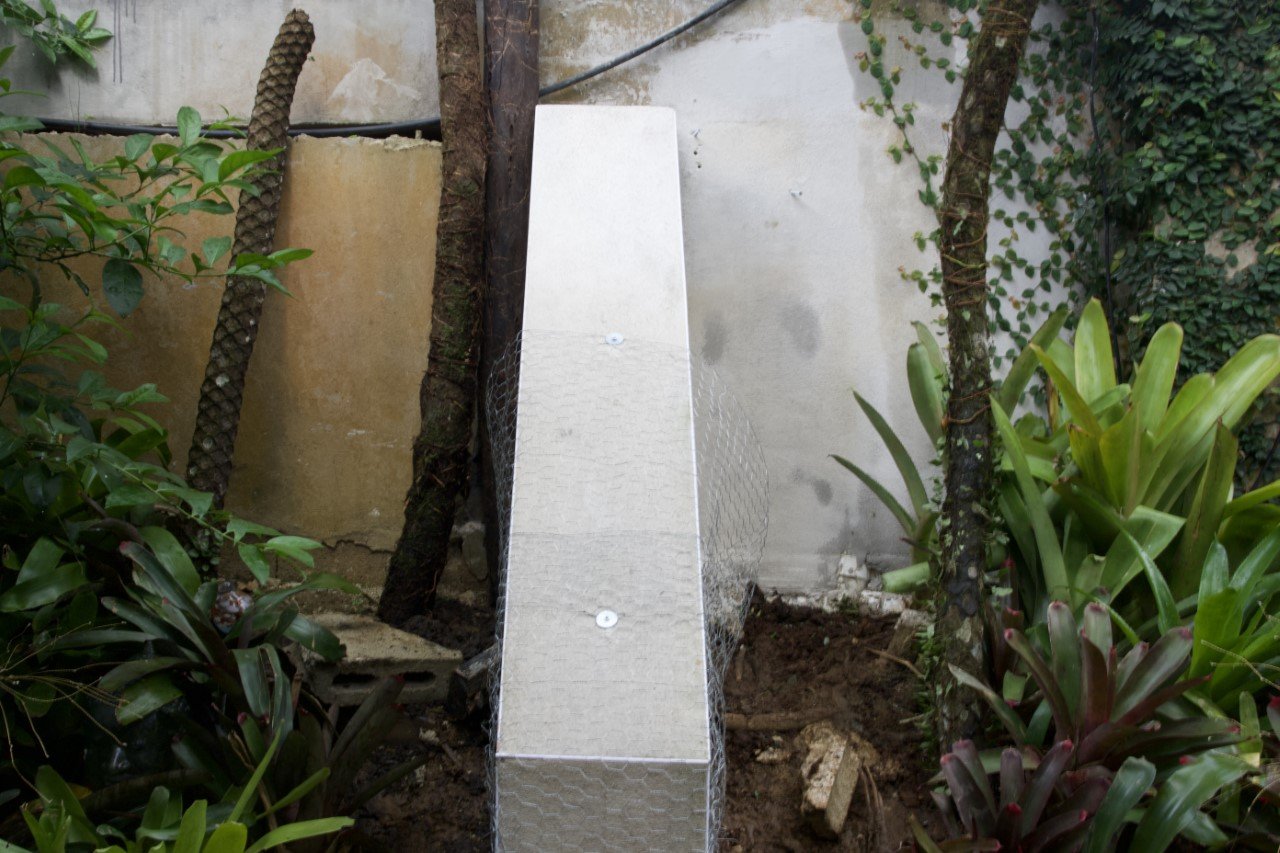
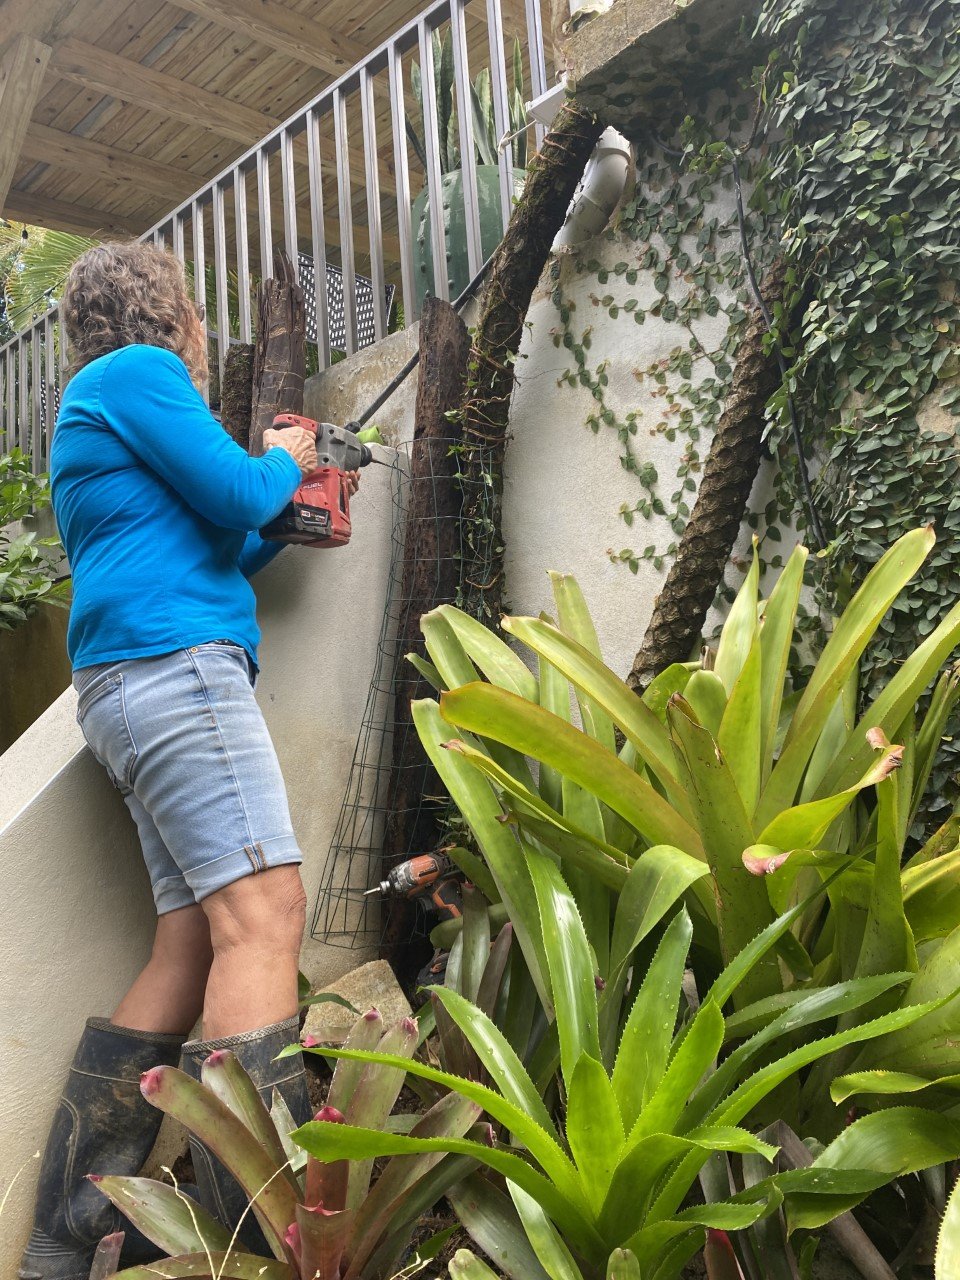
So, once you’re ready to start bringing your wall to life, you will need to cut a piece of chicken wire big enough to cover the space you wish to fill with plants. Once that is cut, you will use the drill to screw the chicken wire into the wall with stainless steel washers in enough spots to secure it.
Now, it’s time for the fun part!

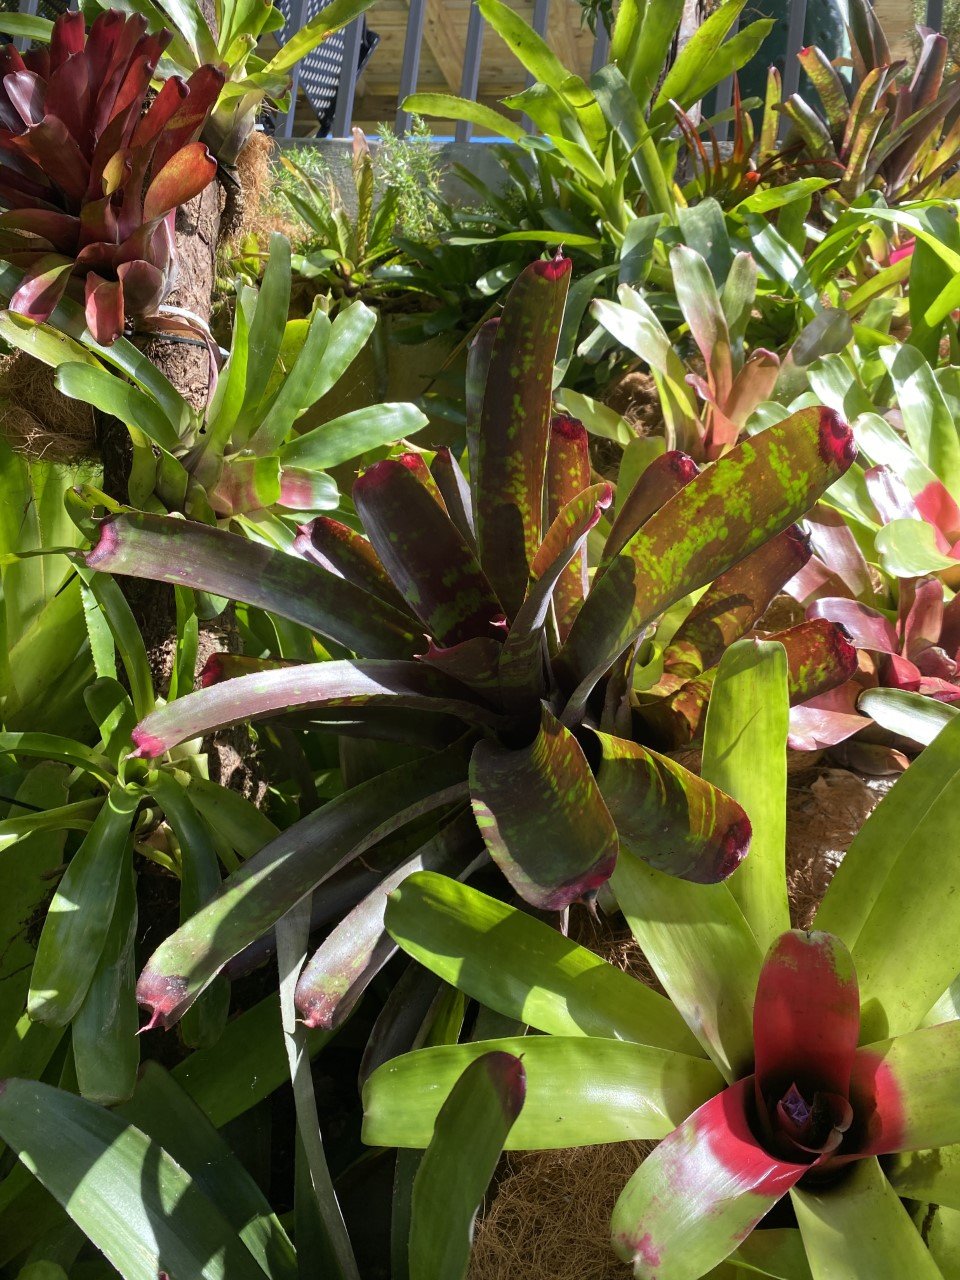
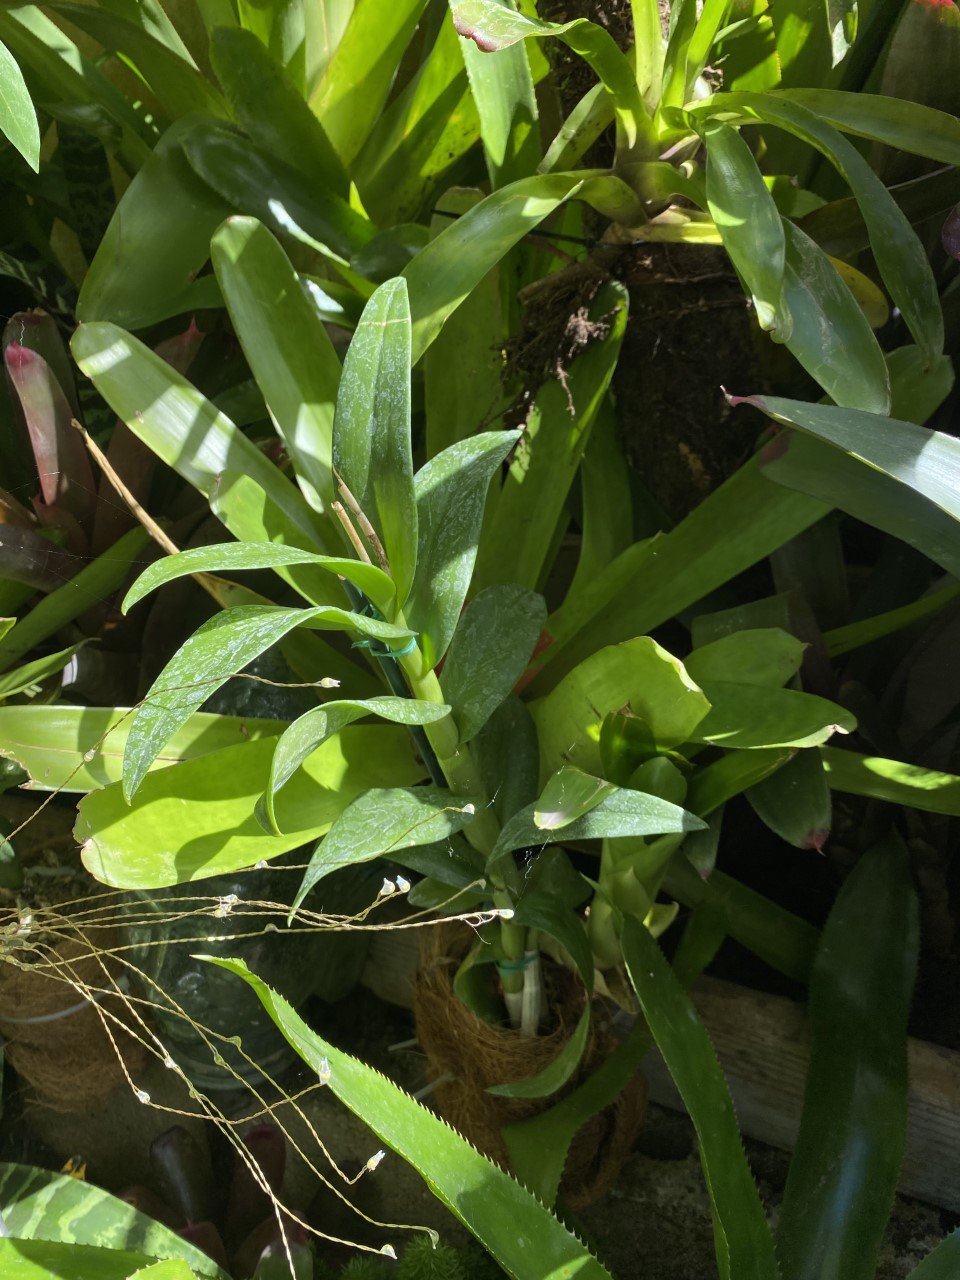
Start to place the bromeliads into the holes of the chicken wire far enough down so that they will not fall out- it helps to choose ones that have long stems. You may have to use the wire cutters to make some of the chicken wire holes larger to accommodate any large plants.
Once the wall is filled up to your liking with plants, there will still be some spots where the wall and/or chicken wire is visible. We decided to fix this problem by using coconut fiber. We tore off small pieces and stuck them around the roots of the plants, and in any open holes in the chicken wire (where there weren’t any plants). As time goes on the plants will grow to fill these spaces.
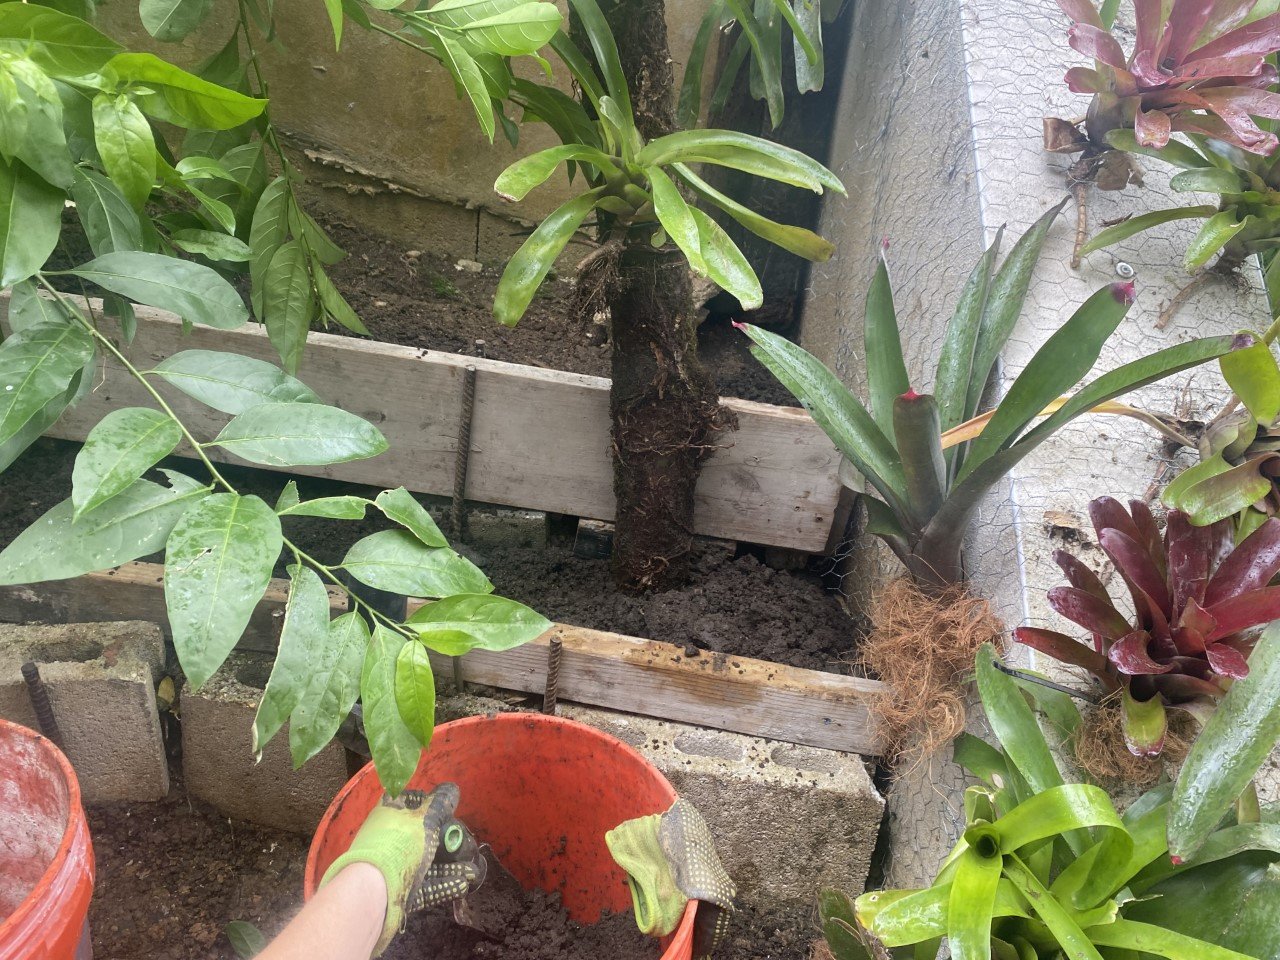
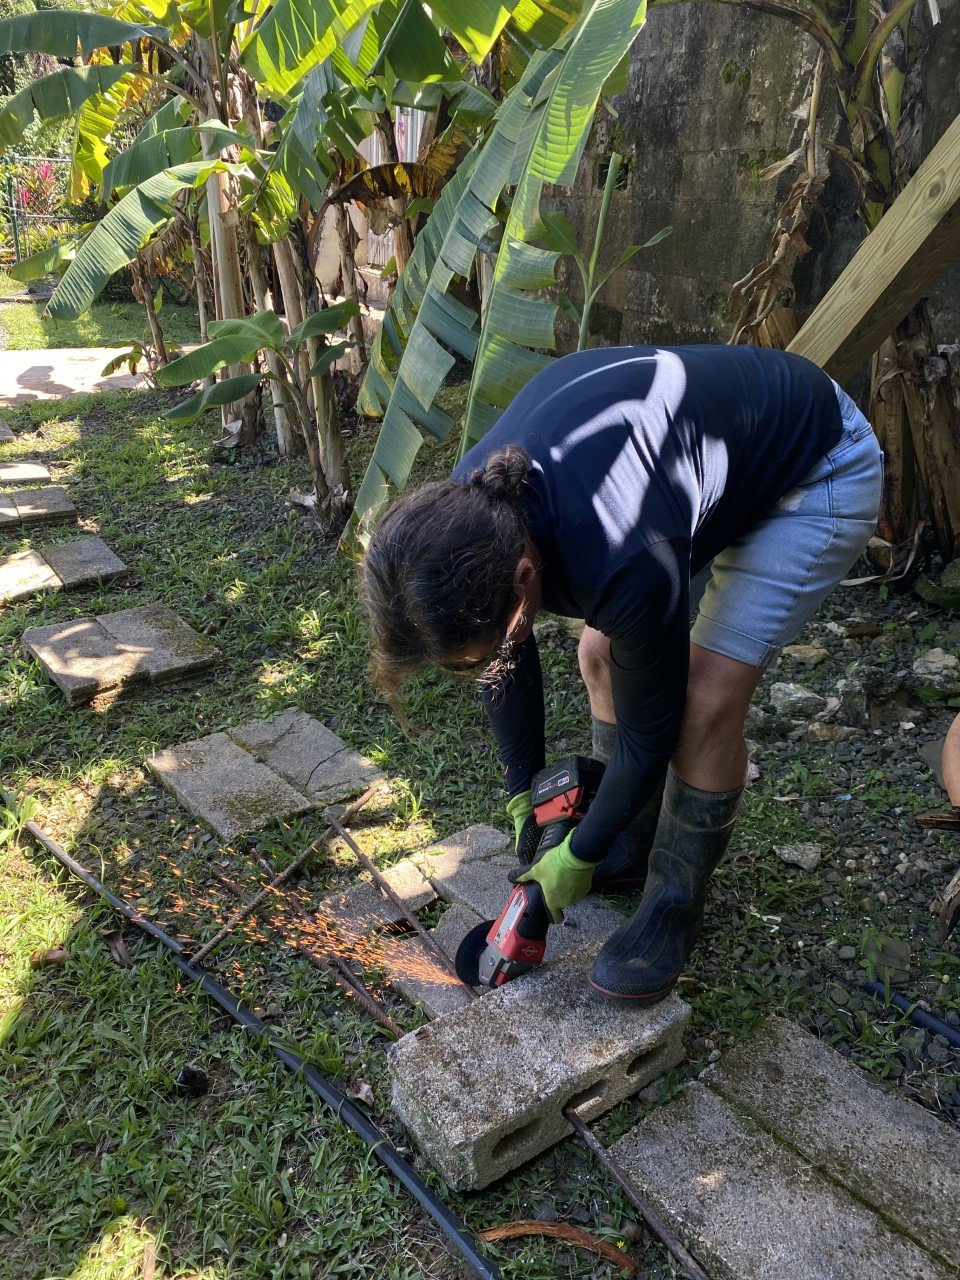
Then we add even more to the living wall by harvesting the trunk of a large dead tree fern. We used cable ties to secure more bromeliads and orchards (with their roots wrapped with the coconut fiber) randomly around the pieces of tree fern, propped them up against the wall, and then used pieces of rebar to secure the tree fern trunks into place. We also decided to place some more bromeliads beneath the planter because you can never have too many plants… right?

To take it another step further, we cut one of the pieces of tree fern in half with a saw to create a natural planter. We then filled it with potting soil and asparagus ferns, which are very hardy plants but have tiny thorns, so be careful! We placed this natural planter on the top of the wall and used rebar again to secure it into place. We did this so that the top of the wall will be covered with plants when you look at it from above, and the asparagus fern will hang down the wall as it grows.

Don’t get discouraged if your living wall takes some trial and error to start coming together and looking alive (ours definitely did) because the finish product will certainly be worth it!
